Technology
Guide to Ij.start.cannon via canon.com/ijsetup
Steps to Establish a Wifi Connection on Your Canon Printer
Prior to getting to ij.start.cannon, your printer should be all around associated with the Wifi. Along these lines, investigate the full-evidence steps that are given beneath:
Canon Wireless LAN Setup:
- To start the organization design measure, you need to turn on the printer by squeezing the Power button. The Power LED light should be steady and strong green.
- Presently, press the Menu button and the Network Settings screen will materialize.
- Here you will see particular choices for setting up an association. Select Wireless LAN Settings alternative and a spring up box will be seen on your printer screen. Tap OK.
- Pick the SSID Settings alternative and following this, select Access Point. Select your supported organization name and information the Wifi security key without committing any error.
- Hang on till the printer screen says Connected. Then, at that point, tap OK.
Canon Printer WPS Push Button:
For setting up a fruitful organization association, press the Wifi button which you will handily discover on the printer’s functional board. Presently, go to your switch and recognize the WPS button. Inside a time of two minutes, press the WPS button. The printer status will currently be shown as Connecting and you need to sit tight for a couple of moments. When the printer screen shows you the Connected Status, complete the arrangement by squeezing OK.
Guide to download the drivers ij.start.canon:
To complete ij.start.cannon setup, download the printer driver by following below procedure:
- The absolute initial step is to push forward to ij.start.cannon. This is the authority site of Canon and a protected stage from where you can basically download the Canon Printer Drivers. So to start, open a viable and very ensured internet browser. Type ij.start.cannon effectively in the location bar and by squeezing the Enter key, you will in a flash be taken to the landing page of Canon.
- To get everything rolling with the printer driver download measure, click on the Setup tab and the Product Name window will be apparent on your screen. As Canon suggests unmistakable programming for your specific printer model, you should indicate your model number by entering it in the inquiry field. Snap in a hurry button and the item download window will turn up on your screen.
- To affirm that the driver you will download is viable with your working framework, you need to pick between various OS variants. Thus, go to the OS field which is situated at the upper-right corner, and select a proper OS. You will detect the Download button at the focal point of the screen, click on it for a speedy and quick download.
- As per your Wifi speed, the driver will be downloaded in only a couple of moments. Likewise, it is proposed not to flip between various screens as it might make issues in downloading the product. When download handling closes, convey forward to the following stage for ij.start.cannon setup.
Follow this easy Step-by-Step Guide to Install the Printer Driver
Here’s how to install the drivers for your Canon printer:
- On the off chance that you have not redone the record area, you need to just access the Downloads envelope for running the downloaded document. Double tap on the ij.start.cannon arrangement record and snap Run for rapidly separating the documents.
- Canon driver arrangement primary interface will be seen on your screen. Prior to arriving at the following page, confirm the language wherein you will work the product for ordering the printer. Henceforth, to alter it, click on the Language tab and it will show every one of the accessible choices. Select the language that you can well-perceive, and afterward click Next from the primary screen.
- Presently, you need to set up an association between your printer and PC. For that, you can settle on either a USB association or a remote association technique. At the point when the printer is effectively connected, you simply need to choose your printer. In light of your printer model, it will show the driver and other extra programming records.
- Empower the ideal checkboxes of the product bundle. Likewise, you ought to have satisfactory room for downloading the printer driver. In the event that your PC needs more space, uninstall a portion of the undesirable projects from your framework. Presently, tap the Next button and move further for ij.start.canon arrangement.
- The License understanding window will turn up on your screen. You should peruse each assertion given in the archive for staying away from future issues. For allowing your acknowledgment to the License Agreement, you need to choose the Yes alternative. This will promptly begin the establishment of your chose driver and extra programming.
- After the driver arrangement fruition, you can test the working of your printer by printing a page. To do as such, the printer plate should comprise of some A4 size pages. Then, at that point, click on the Execute button and your printer will instantly print a page. This finishes up the driver arrangement through ij.start.cannon.
How to connect Canon printer manually to your network
In the event that your Canon printer doesn’t uphold remote availability, you need to physically connect your printer to the organization by obtaining an Ethernet link. Likewise for wired association, it is obligatory to have a functioning ethernet port on your printer. Presently, detect the ethernet port on the printer relying upon the particular model of your printer. In the event that you stumbled into difficulty while discovering the ethernet port, audit your printer manual to affirm it. Presently, hold the ethernet link and addition its one end into the printer’s port. Following this, find the switch’s ethernet port and tenderly join the opposite finish of the link to its port. Henceforth, this basic interaction will rapidly shape an association between your printer and switch for ij.start.cannon setup.
Troubleshoot ij.start.cannon errors
There are situations when ij.start.cannon doesn’t open on your gadget due to some essential issues. At the point when you are stuck while getting to the website page, right off the bat screen your web association status. On the off chance that your Wifi is giving better signals, confirm the form of the internet browser which you are by and by utilizing. Additionally, the internet browser should be protected, mistake free, and does exclude undesirable or superfluous documents. Further, make sure that the web address you are entering is totally right in any case your few endeavors won’t dispatch the arrangement page. These fast investigating steps will without a doubt fix your issue.
Fix Canon Printer Not Recognized error
In the event that your Canon printer not perceived by the PC, you should reverify the printer association. On account of a USB association, the USB link should not be flawed, harmed, or annihilated. In the event that the link isn’t looking suitable, take another one. Additionally, confirm that the link ought not be approximately associated with any of your PC or printer. While on account of remote association, affirm the organization name on your printer screen. The Wifi name should coordinate with the organization to which your PC is associated.
Guide to reset Canon Printer to factory settings
Above all else, you need to find the Resume/Cancel button on the top board of your printer. Presently, basically press the Resume/Cancel button and you are mentioned to hold it until the alert light gleams multiple times. At the point when it is done, you can deliver the button. The plant reset now and again fixes the most widely recognized issues. Additionally, you need to reconnect your printer with your ideal Wifi in the wake of resetting.
Also Read: Amazon launches Astro voice-controlled robot
Introduction
Know the ways how to Optimize and Speed Up Your Computer In today’s fast-paced digital world, having a slow computer can be frustrating and time-consuming. Whether you use your computer for work, entertainment, or both, optimizing its performance is crucial to ensure smooth operation and maximize productivity. This comprehensive guide will walk you through a series of practical steps to help you speed up your computer and improve its overall efficiency.
Step 1: Clean Up Unnecessary Files and Programs
Over time, your computer accumulates various unnecessary files and programs that can slow down its performance. You can free up valuable disk space and optimize your computer’s speed. By eliminating this digital clutter. Here’s how:
Step 2: Removing Temporary Files
- Open the “Disk Cleanup” utility by searching for it in the Windows Start menu.
- Select the drive you want to clean up (usually the C: drive) and click “OK.”
- Wait for the utility to calculate the amount of space you can free up.
- Check the boxes next to the types of files you want to delete, such as temporary files, recycle bin contents, and temporary internet files.
- Click “OK” to begin the cleanup process.
Step 3: Uninstalling Unnecessary Programs
- Open the “Control Panel” by searching for it in the Windows Start menu.
- Click on “Uninstall a Program” under the “Programs” section.
- Review the list of installed programs and identify those you no longer need.
- Select the program you want to uninstall and click “Uninstall” at the top.
- Follow the on-screen instructions to complete the uninstallation process.
- Upgrade Your Hardware
A sluggish computer can sometimes be attributed to outdated or insufficient hardware components. Upgrading your hardware can significantly enhance your computer’s speed and overall performance. Consider the following upgrades:
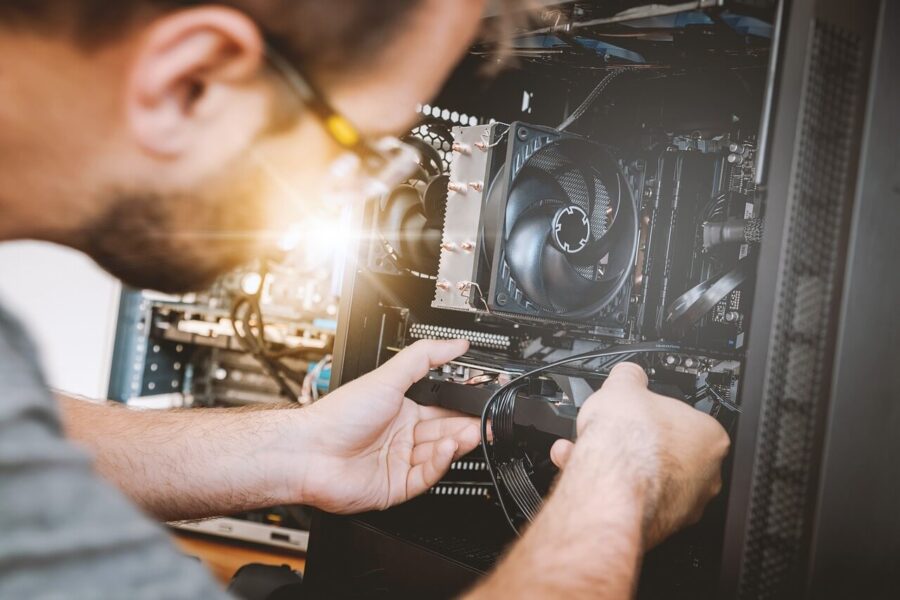
Step 4: RAM Upgrade
Random Access Memory (RAM) plays a vital role in the speed and efficiency of your computer. Increasing the amount of RAM can help your system handle more tasks simultaneously, resulting in smoother operation. Consult your computer’s specifications to determine the maximum RAM capacity it can support and purchase compatible RAM modules accordingly.
Step 5: Solid State Drive (SSD) Installation
Traditional hard drives can be a bottleneck in terms of speed. Installing an SSD can provide a significant boost to your computer’s performance. An SSD operates faster, has no moving parts, and offers quicker data access. Consider migrating your operating system and frequently used applications to the SSD for optimal speed gains.
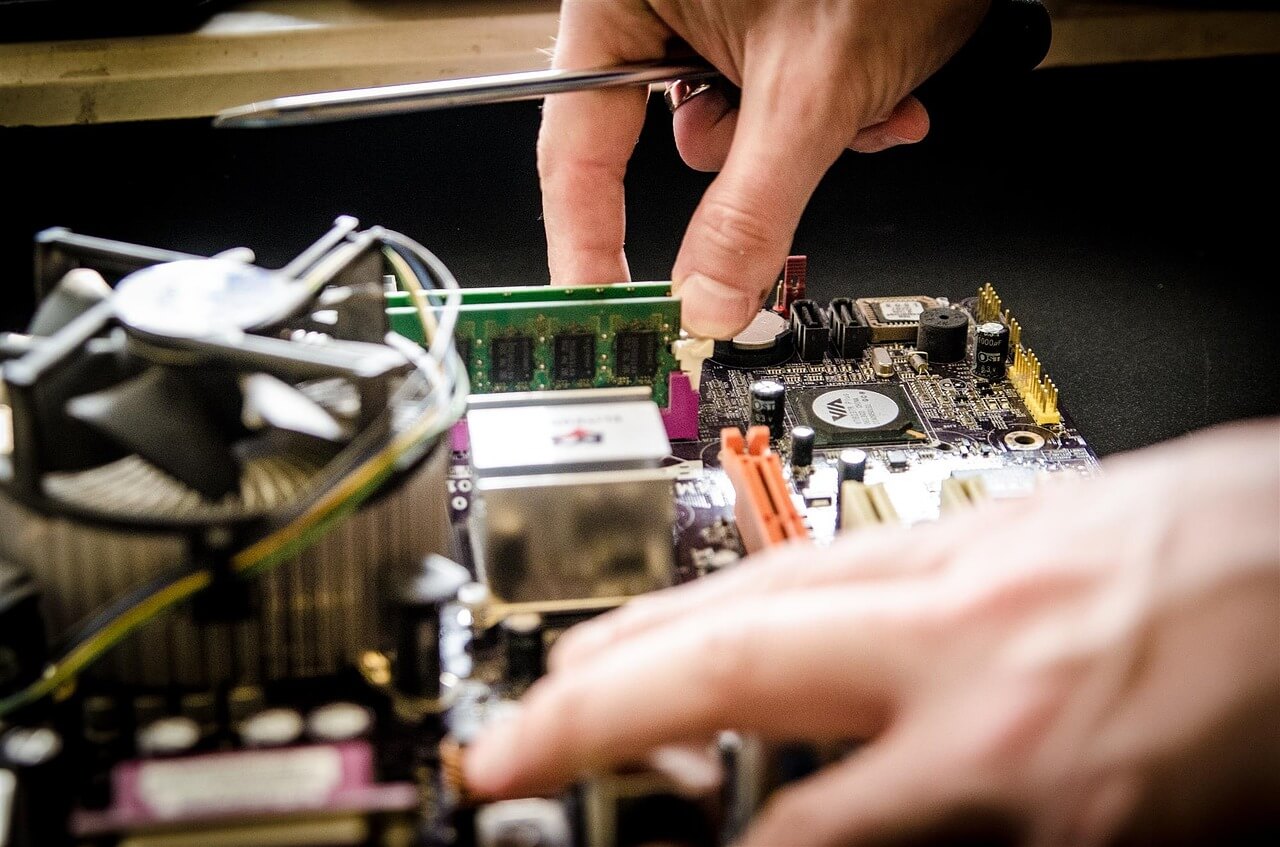
Step 6: CPU Upgrade
The Central Processing Unit (CPU) is the brain of your computer. Upgrading to a faster and more powerful CPU can dramatically improve your computer’s processing speed. However, CPU upgrades are often more complex and may require professional assistance. Ensure compatibility with your motherboard before making any CPU upgrade decisions.
Step 7: Optimize Startup and Services
When you start your computer, numerous programs and services may automatically launch, consuming valuable system resources and prolonging the startup process. Optimizing your startup configuration can lead to faster boot times and improved overall performance. Here’s how:
Step 8: Disable Unnecessary Startup Programs
- Press “Ctrl + Shift + Esc” to open the Task Manager.
- Click on the “Startup” tab.
- Review the list of programs and disable the ones that are not essential.
- Right-click on a program and select “Disable” to prevent it from launching at startup.
Step 9: Manage Background Services
- Press “Ctrl + Shift + Esc” to open the Task Manager.
- Click on the “Services” tab.
- Identify services that you don’t require or recognize.
- Right-click on a service and select “Stop” to terminate it temporarily or “Disable” to prevent it from starting altogether.
- Perform Regular System Maintenance
To keep your computer running smoothly, performing regular system maintenance tasks is essential. These maintenance activities help prevent issues and ensure optimal performance. Consider the following:
Step 10: Keep Your Operating System Updated
Regularly updating your operating system is crucial for obtaining the latest bug fixes, security patches, and performance improvements. Enable automatic updates or manually check for updates periodically to ensure you have the latest version installed.
Step 11: Run Antivirus and Malware Scans
Viruses, malware, and other malicious software can significantly impact your computer’s performance. Install a reputable antivirus program and perform regular scans to detect and remove potential threats.
Step 12: Defragment Your Hard Drive
Regular defragmentation can optimize file access and improve performance using a traditional hard drive. To defragment your hard drive:
- Open the “Disk Defragmenter” utility by searching for it in the Windows Start menu.
- Select the drive you want to defragment and click “Optimize.”
- Please wait for the process to complete, as it may take a while, especially for larger drives.
Conclusion
By following these optimization techniques and implementing hardware upgrades where necessary, you can significantly improve your computer’s speed and overall performance. Remember to perform regular maintenance and keep your system current for long-term efficiency. Take control of your computer’s speed and enjoy a seamless computing experience!
Disclaimer: The information provided in this article is for educational purposes only. The steps mentioned may vary based on your operating system and specific computer configuration. Ensure proper backups and consult professional assistance when performing hardware upgrades or system modifications.

-

 Technology3 years ago
How to Make a Public Profile on Snapchat
-
 How To2 years ago
Guide to www.hulu.com/activate
-

 How To3 years ago
Twitch.tv/activate – Twitch Activate
-
News2 years ago
What is the Art of Zoo? And Why is it trending?
-
Science2 years ago
What Dinosaur Has 500 Teeth?
-
 How To2 years ago
How Does USPS Tracking System Work – Everything You Need To Know
-

 Technology3 years ago
Guide to Disneyplus.com/begin
-
Technology3 years ago
iPhone privacy changes signal craving to enter advertising